Setting up event tracking in Klaviyo allows you to track and respond to specific actions taken by users on your website or within your app. This can include events such as product views, purchases, form submissions, and more. Here’s how to set up event tracking in Klaviyo:
Step 1: Integrate Klaviyo with Your Platform
- Log in to Klaviyo:
- Access your account at Klaviyo.
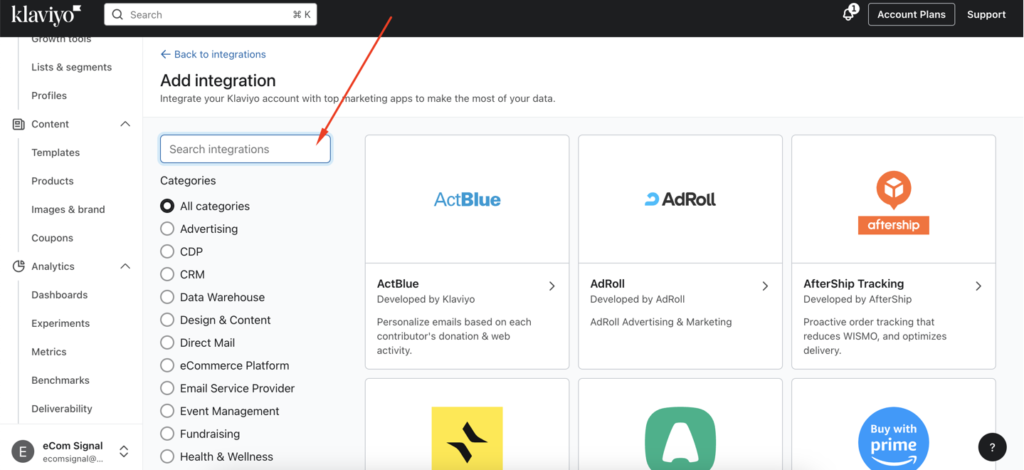
- Navigate to Integrations:
- Click on your account name in the bottom left corner.
- Select “Integrations” from the dropdown menu.

- Select Your Platform:
- Choose the platform you want to integrate with Klaviyo. Common platforms include Shopify, WooCommerce, Magento, and custom websites.
- Follow Integration Steps:
- Follow the instructions provided by Klaviyo to complete the integration. This typically involves installing the Klaviyo app or plugin and authorizing the connection.
Step 2: Set Up Custom Event Tracking
- Identify Events to Track:
- Determine the key events you want to track, such as product views, add to cart, checkout started, purchases, form submissions, and more.
- Add Klaviyo’s JavaScript Snippet:
- If you are using a custom website or platform, you will need to add Klaviyo’s JavaScript snippet to your site. This snippet allows Klaviyo to track events and collect data.
- You can find the JavaScript snippet in your Klaviyo account under “Integrations” > “Web Tracking” > “Setup Web Tracking”.

- Implement Event Tracking Code:
- Use Klaviyo’s JavaScript API to track custom events. Below are examples of how to track different types of events.
Example: Tracking a Product View Event
|
1 2 3 4 5 6 7 8 9 10 11 12 |
// Add this code to the product page template on your website <script type="text/javascript"> _learnq.push(['track', 'Viewed Product', { 'ProductName': 'Product Name', 'ProductID': 'Product ID', 'Price': 'Product Price', 'Categories': ['Category1', 'Category2'], 'ImageURL': 'Product Image URL', 'URL': 'Product URL', 'Brand': 'Product Brand' }]); </script> |
Example: Tracking an Add to Cart Event
|
1 2 3 4 5 6 7 8 9 |
// Add this code to the add-to-cart button on your website <script type="text/javascript"> _learnq.push(['track', 'Added to Cart', { 'ProductName': 'Product Name', 'ProductID': 'Product ID', 'Price': 'Product Price', 'Quantity': 'Quantity Added' }]); </script> |
Example: Tracking a Purchase Event
|
1 2 3 4 5 6 7 8 9 10 11 12 13 14 15 |
// Add this code to the order confirmation page on your website <script type="text/javascript"> _learnq.push(['track', 'Purchased', { 'OrderID': 'Order ID', 'Total': 'Order Total', 'Items': [ { 'ProductName': 'Product Name', 'ProductID': 'Product ID', 'Price': 'Product Price', 'Quantity': 'Quantity Purchased' } ] }]); </script> |
Step 3: Verify Event Tracking
- Check Event Data:
- After implementing the event tracking code, you can verify that the events are being tracked correctly.
- In your Klaviyo account, navigate to “Analytics” > “Metrics”.
- Look for the events you have set up (e.g., “Viewed Product”, “Added to Cart”, “Purchased”) and ensure data is being collected.
Step 4: Use Tracked Events in Flows and Segments
- Create Segments Based on Events:
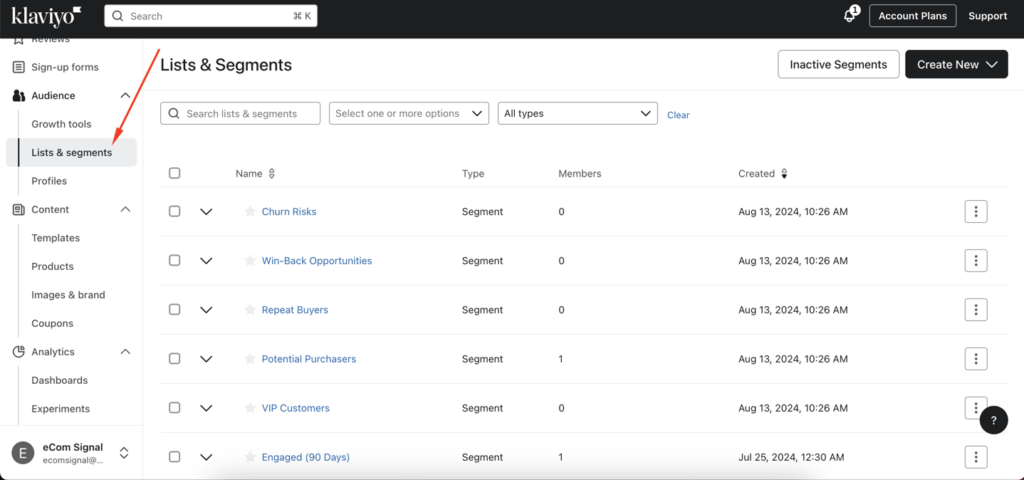
- Go to “Lists & Segments” in the left-hand sidebar.
- Click “Create List / Segment” and select “Segment”.
- Define segments based on tracked events. For example, create a segment for users who have viewed a product but have not purchased.

- Set Up Automated Flows:
- Navigate to “Flows” and click “Create Flow”.
- Choose a trigger based on the tracked event. For example, trigger an email flow when someone views a product or adds an item to their cart.
- Design the flow to send targeted and personalized emails based on the user’s actions. For example, send a follow-up email with a special offer if they added a product to their cart but didn’t complete the purchase.

Example: Creating an Abandoned Cart Flow
- Trigger:
- Choose the “Added to Cart” event as the trigger for the flow.
- Email 1: Cart Reminder:
- Send an email reminding the user about the items in their cart.
- Include images of the products, a personalized message, and a call-to-action to complete the purchase.
- Email 2: Special Offer:
- If the user hasn’t completed the purchase within 24 hours, send a second email with a special discount or offer to encourage the purchase.
Step 5: Analyze and Optimize
- Monitor Performance:
- Use Klaviyo’s analytics to monitor the performance of your event-based flows and segments.
- Track metrics such as open rates, click rates, conversion rates, and revenue generated.
- A/B Testing:
- Conduct A/B tests on your emails and flows to determine what content and offers resonate best with your audience.
- Optimize based on the results to improve engagement and conversion rates.
By following these steps, you can effectively set up event tracking in Klaviyo and use the data to create targeted, personalized marketing campaigns that drive engagement and sales. If you have any specific questions or need further assistance, feel free to ask!


